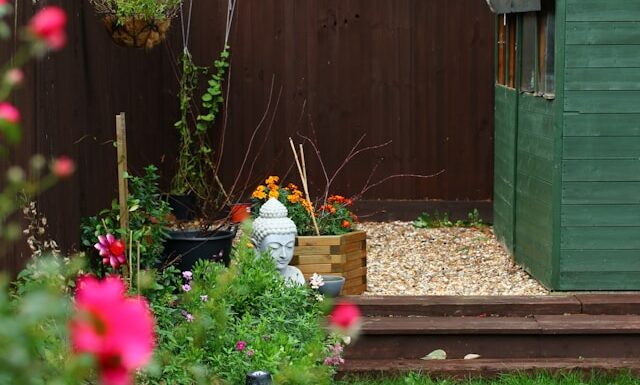
Hey there! If there’s one thing I’ve learned from my years of building and renovating, it’s that a well-constructed fence can beautifully frame a backyard while providing privacy and security for your family. If you’re considering taking on this project yourself, you’ve come to the right place. Let’s grab our tools and dive into the ultimate guide to backyard fence installation for beginners!
Step 1: Planning and Preparation
Before starting any DIY project, proper planning is crucial—especially when it comes to what could be the centerpiece of your yard.
1. Determine the Purpose: First, ask yourself what your primary goal is with the fence. Is it privacy, security, or aesthetic appeal? This will help guide your material choice.
2. Research Your Local Building Codes: Since I have a degree in architecture, I can’t stress enough the importance of understanding and adhering to local building codes. Contact your local municipality to see if you need a permit and learn about any height restrictions or property line rules.
3. Select Your Materials: Based on your purpose, choose the best materials. Wood offers a classic look, vinyl requires less maintenance, and metal is incredibly durable.
4. Calculate the Costs: Estimate the total cost by measuring your yard and calculating the number of panels, posts, and additional materials you’ll need.
Step 2: Gathering Your Supplies
With a background in carpentry, having the right tools is something I always emphasize to my kids. Here’s what you’ll need:
– Measuring tape
– Level
– Post hole digger
– Shovel
– String line
– Hammer or nail gun
– Drill
– Saw (if you’re custom cutting)
For safety measures, grab some gloves, safety glasses, and ear protection too.
Step 3: Marking and Digging Post Holes
Now comes the fun part! It’s time to get hands-on.
1. Outline Your Fence: Use stakes and string to outline where your fence will go. Make sure it’s straight and follows the measurements you’ve planned.
2. Measure and Mark: Mark where each post will sit, typically between 6 to 8 feet apart.
3. Digging the Post Holes: Use your post hole digger to create holes that are about a third of the post’s length deep. If you’re physically up to a challenge, this part is also the perfect opportunity to work on your upper body strength!
Step 4: Setting the Posts
This step is where your project begins to take shape.
1. Set the Corner Posts First: Use concrete to anchor the posts, ensuring they’re level and plumb. Let them cure for at least 24 hours for maximum stability.
2. Install the Remaining Posts: Once your corner posts are set, run a string line between them to ensure all posts are aligned.
Step 5: Installing the Fence Panels
We’re nearing the finish line!
1. Attach the Panels: Depending on your chosen material, attach panels using screws or nails. If you’re working with long sections, enlist a helper. Remember, teaching your kids about teamwork can be one of the most valuable lessons.
2. Check for Level and Spacing: Consistency is key to a professional-looking fence, so keep that level handy and make adjustments as needed.
Step 6: Adding the Finishing Touches
Finally, give your new fence a little extra love.
1. Apply a Protective Finish: If you’ve chosen wood, apply a weather-resistant sealant or paint to protect against the elements.
2. Install Caps and Accessories: Post caps can not only add style but also protect the posts from water damage.
3. Clean Up: Gather leftover materials and clean up tools, leaving your yard in pristine condition.
Conclusion
Congratulations! You’ve built a backyard fence that will not only add value to your home but also provide a safe space for your kids to play. This project, like anything, benefits from patience and practice. With each nail hammered and hole dug, you’ll find that these tasks become more manageable—and even enjoyable.
As always, I encourage you to involve your family in the process. It’s a fantastic opportunity to teach your kids about construction and teamwork, all while creating lasting memories. So, roll up those sleeves and start transforming your backyard today!